Saturday, September 21, 2019

Convert a Recessed Light into Pendant Light

When I first started our initial remodel project, my Interior Designer recommended that I switch out our recessed lights to pendant lights. Before calling an electrician to change the wiring, I decided to research and see if there were other options available. I'm glad I did! It turns out its very easy and quick to do, each light takes less than 15 minutes.

Here's how:
Home Depot sells conversion kits that makes the process really easy. The one I found wasn't in my local store so I had to order it and it arrived in less than a week. This is the one I got:
The kit contains everything you need and doesn't require any tools, which makes it really easy! First you unscrew the light bulb from the recessed light. Yes I know I got paint on the cover of my light, but it doesn't matter since it will be covered up at the end.
Then adapter part of the pendant light goes where the light bulb used to be. Before inserting the adapter though, you may want to adjust the length of the cord for the pendant light. You can always change it later but its easier to do it beforehand.

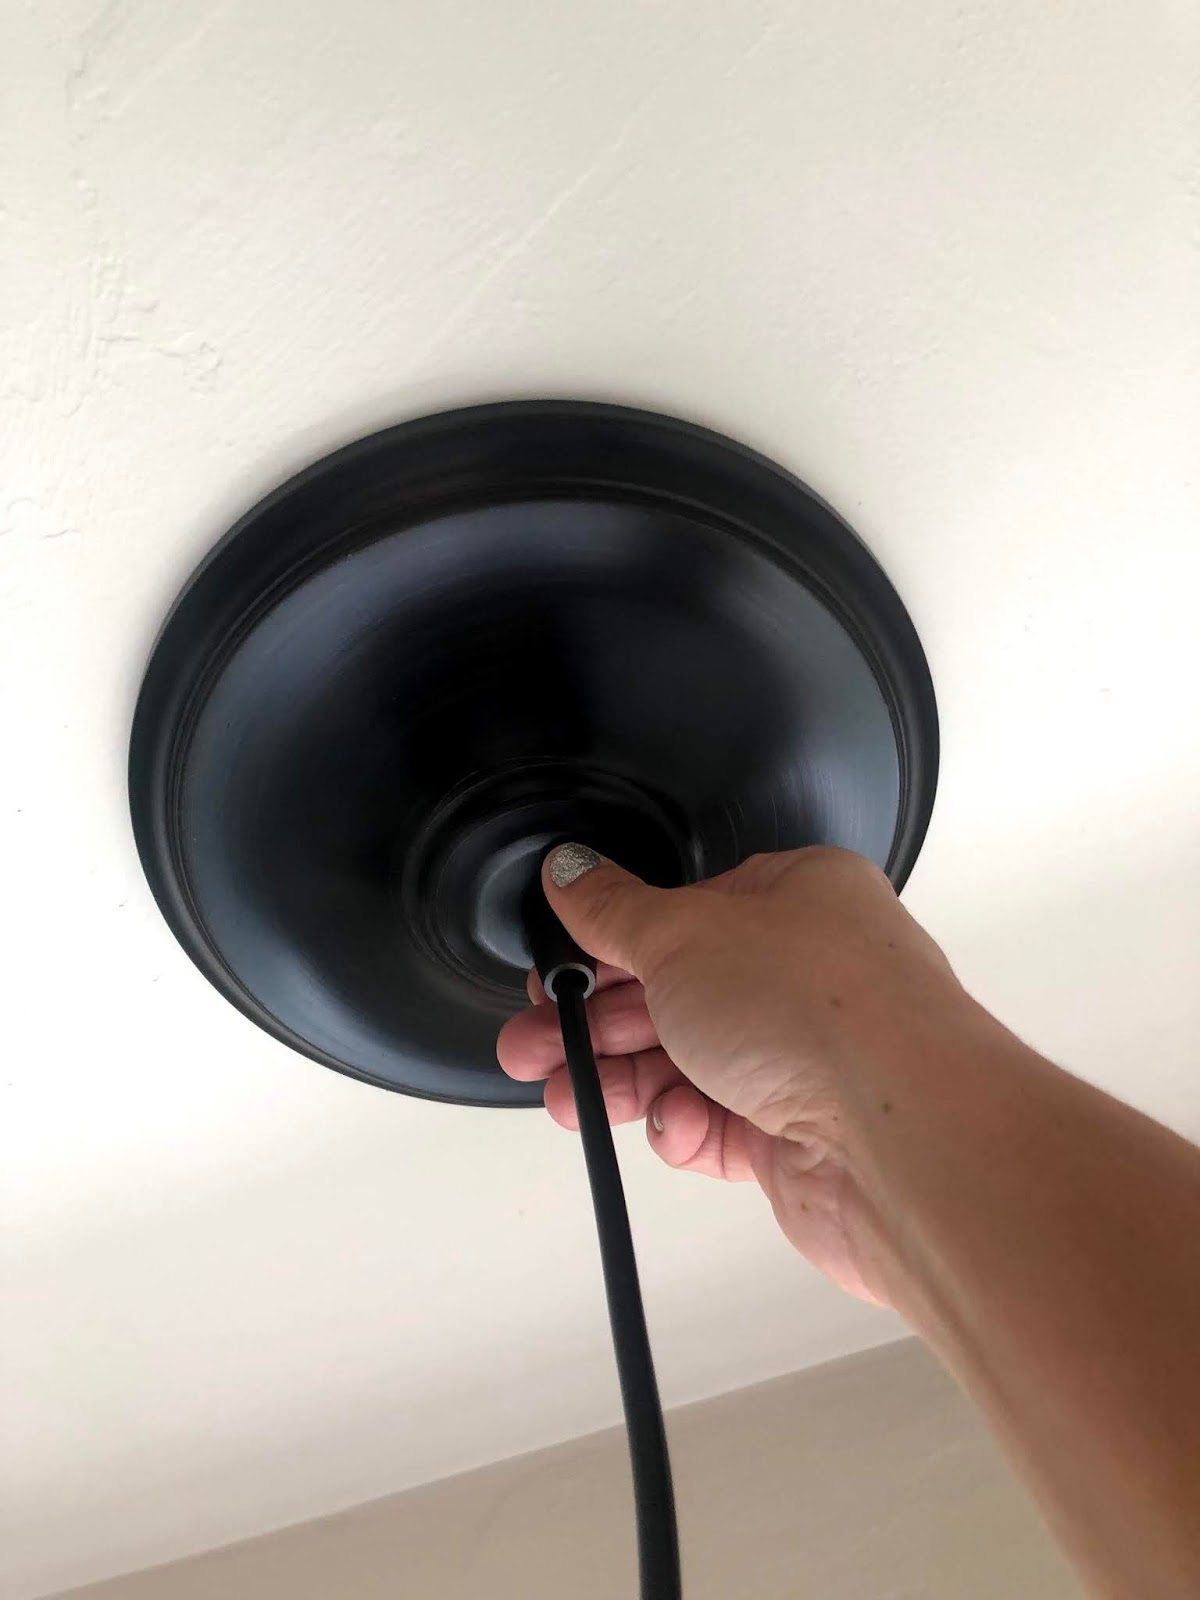
 Now the pendant light should be in, but you will need to tighten the cover plate. This will conceal the fact that it was ever a recessed light! Make sure the nut is loosened, then slide the plate up to the top and tighten the nut. Make sure not to over tighten as it could break the plastic piece.
The only thing left to do is add the shade and light bulb. Told you it was easy!

After a few days, the cord should straighten out on its own if there are any kinks in it. Also, if you decide you ever want to go back to a recessed light, it can switch back just as easily!

I love how it adds texture and draws the eye up in the room.
Do you have a recessed light that you are considering updating to a pendant? Its so easy to do I hope after reading this you attempt it on your own!

Don't forget to follow me on Instagram and Facebook!

Friday, September 13, 2019

What to look for when buying REFINISHED furniture

I get it. Its tempting to try your hand at painting furniture. There is nothing wrong with that.

I'm here to explain the difference between purchasing refinished furniture from a hobbyist versus a professional.

When it comes to refinished furniture, I can be very picky. I have my own style that I tend to stay with but can appreciate other styles as well if done correctly. How can you tell if something is refinished correctly? Here is a checklist that can help you decide:


  • Check the drawers - are they dovetail? This is usually a good indication if the piece is good quality. To me though, if the drawers aren't dovetailed it isn't a deal breaker, if the piece seems solid otherwise I still consider it a worthy purchase. Also, check to make sure the drawers have a clean paint line. Sometimes furniture artists get sloppy and over spray or brush paint on the sides of the drawers instead of taping them off to protect them.
  • Are there brush strokes or does it have a professional sprayed finish? If there are brush strokes, is the piece meant to have the streaky textured look or is it supposed to be a smooth finish?
  • Are there paint globs or drips? This would indicate a sloppy paint job.
  • Was the piece cleaned and sanded before it was painted? Good adhesion starts with proper prep work, which means cleaning and sanding the piece before it is painted (or stripping existing paint if it was previously painted).
  • Was the hardware removed before it was painted? Or was it left on and just painted over? Typically a true professional will take the extra steps to remove the hardware so that it doesn't get painted with the rest of the piece.
  • Ask what kind of paint was used. Was it a type of paint meant for walls (latex) or was it an actual furniture paint meant for wood?
  • Do the drawers slide easily and do they sit in the correct place or do they push too far in or get stuck? Small details like this is what makes a refinisher an expert.
  • Was the piece waxed and is it high traffic? This would be a warning sign that the paint job will not last. Wax should never be used for a high traffic piece and also wax needs to be applied every couple of years, so know that if you plan to keep the piece for a long time it will need upkeep.
  • Lift it - if it is EXTREMELY light or EXTREMELY heavy chances are that it could be cheaply made.


A seasoned furniture refinisher has made a lot of mistakes. Enough to know what they like and what they don't, what works and what doesn't. We learn best from mistakes though. Professionals know what furniture is the best candidate for refinishing and won't waste time on pieces that aren't quality.

Do you have anything to add if you are a professional furniture refinisher?

Also, feel free to follow me on Instagram and Facebook, I will occasionally post my process on refinishing in my stories and posts!