I'm on a mission to get rid of all the white tile in my house. I think the original owners must have gotten a deal on bulk white ceramic tile because it is EVERYWHERE.
For my downstairs bathroom remodel, I knew I needed something budget friendly and quick and easy. Tile removal can be labor intensive and expensive. I didn't want to leave the tile as is, but I knew my options were limited. My first thought was to paint the floors with a stencil. I read no less than 100 DIY tutorials and blogs that did this, so I felt like I knew the pros and cons.
- Pros - easy to do and very inexpensive.
- Cons - not sure how long it will last and no matter what it would not be perfect.
That last statement was the hardest for me to ingest. There is just no getting around bleed through with a stencil, it will happen. Being the perfectionist that I am, I wasn't sure if I could live with that.
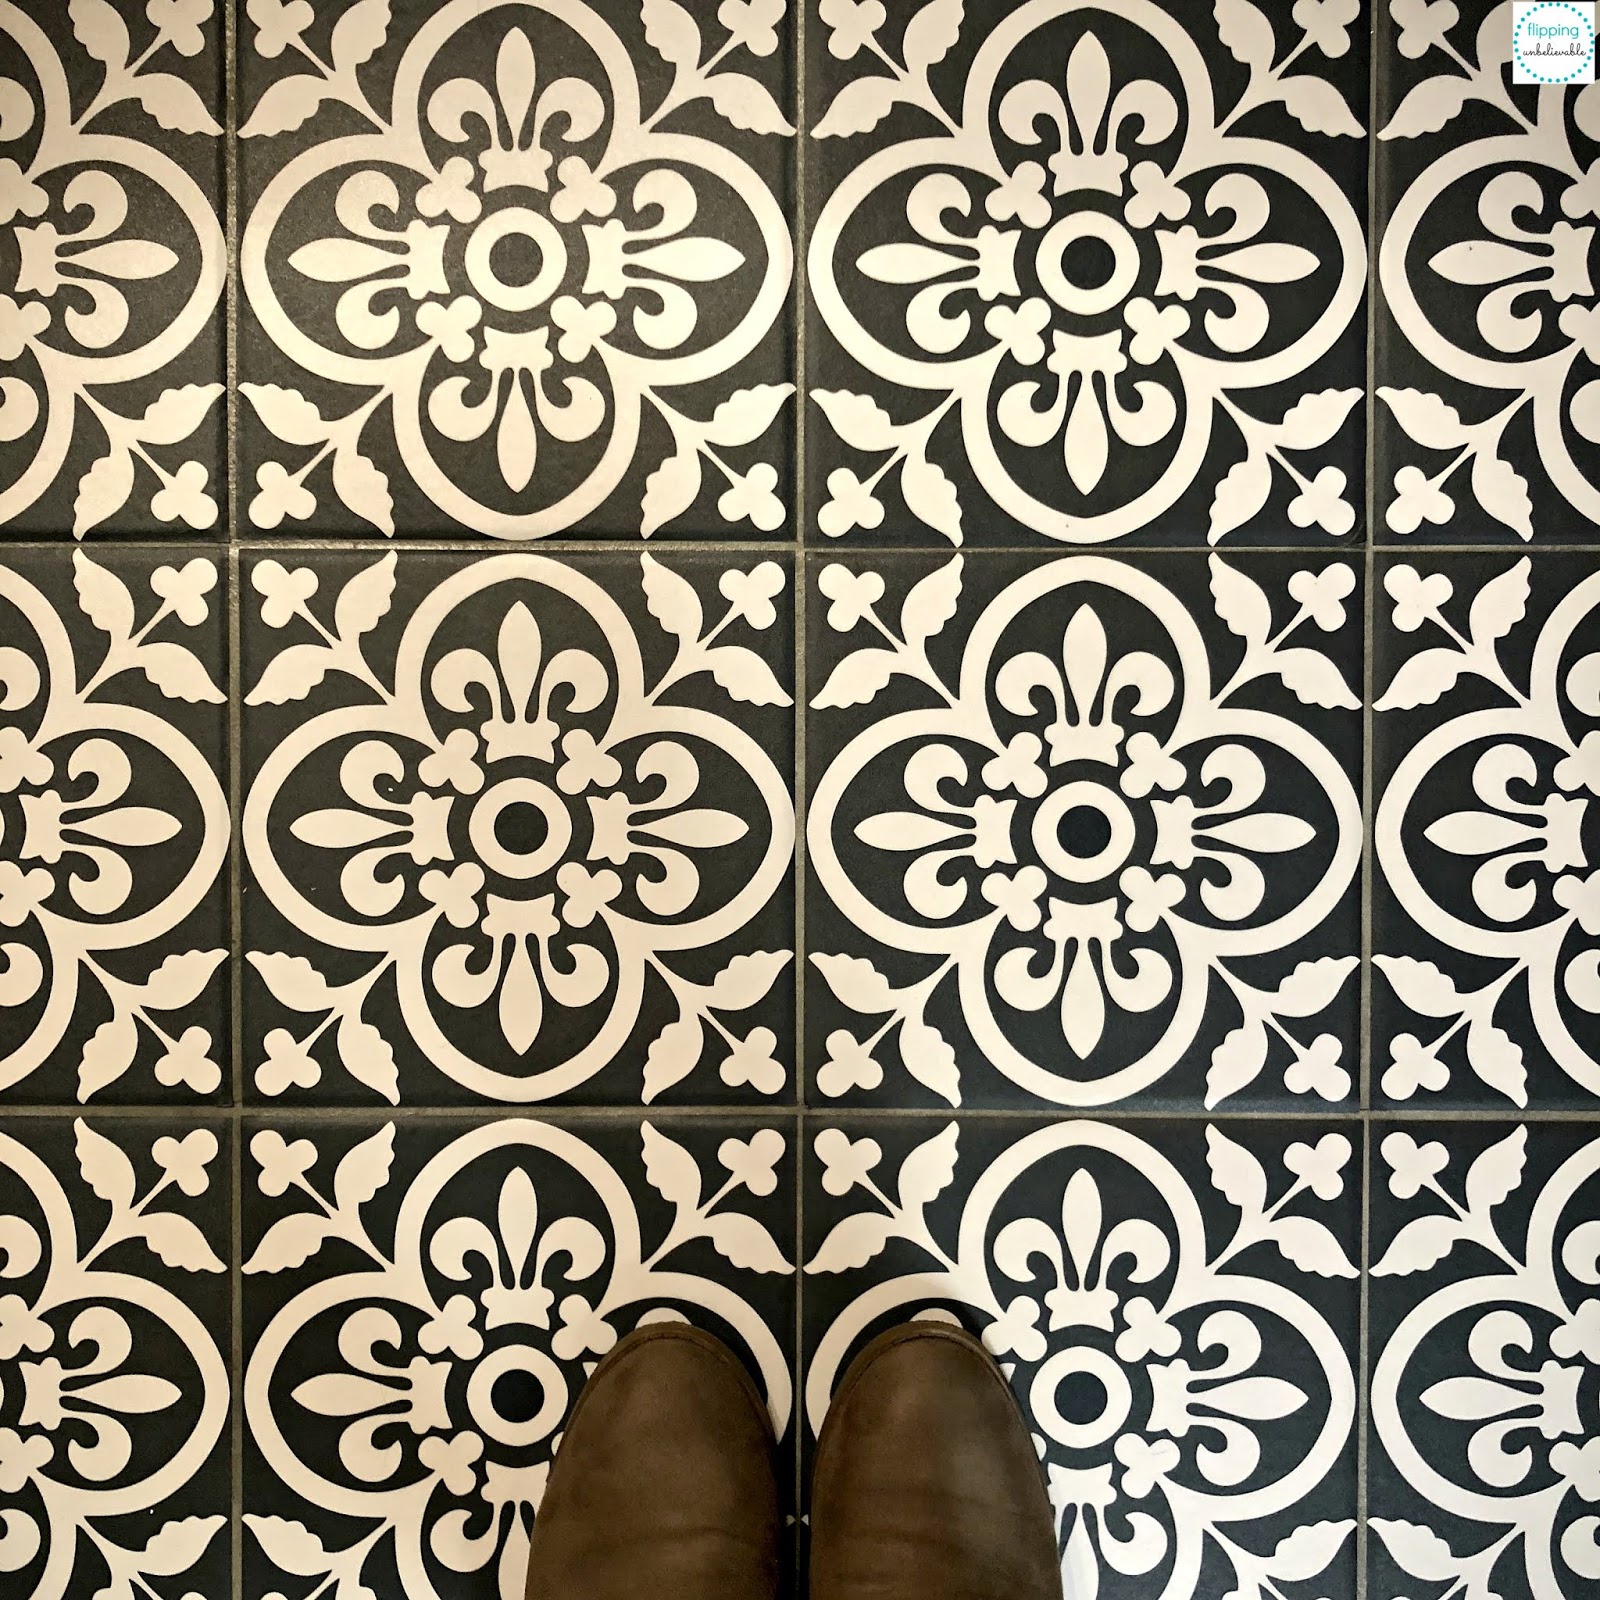
Then I found peel and stick tile flooring. I saw all the different designs and knew this was the best option for me:
I did some research on this product and like anything there are pros and cons.
- Pros - easy to install, relatively inexpensive, easy to replace a damaged tile, easy to cut to the size you need for partial tiles, and removable if you don't like it or live in a rental unit
- Cons - longevity (the company I ordered from says it lasts 7 years), somewhat time consuming to install depending on how much of a perfectionist you are.
After looking around I decided to order my tiles from Bleucoin. I ordered from Etsy, you can find the link here:
https://www.etsy.com/shop/Bleucoin
They are shipped from India, but my tiles arrived in 5 days. There are different patterns to choose from but the main reason I picked this business is because I liked the fact that you can order tiles based on the size of your existing tiles. This was important to me because it meant the original grout would still be visible, making the tiles look more realistic.
I ordered the Encaustic Moroccan style from Bleucoin in matte finish. I read in the FAQ section that the matte finish is recommended for flooring as there is a slight texture to it. The tile is a darker gray so I knew it would work well with my dark gray grout. Before ordering its important to measure the tile. Mine was just under 8". And when deciding if I should order the 7.9" or 8" tile I went with the 8" knowing I could overlap slightly on the grout and it would cover the tile completely. I did not want the white to show through if I missed an edge.
The first step to applying the tiles is to clean the floor really well. The key to a job done right is all in the prep work. After the tiles were clean and dry I started on one end of the room with the full tiles and dove in. It is just like a sticker, you peel the back off and stick it on the tile, making sure to press down for the best adhesion.
The full tiles were the fun part. That job went really fast and was super easy. After all of the full tiles were done, it got a little more time consuming to install the partial tiles. I know it wasn't necessary, but I measured and cut a template for each stencil before applying the actual tile. I saved the backings from the tiles and used that as my template.
First I did my best to mark the backing with a pencil and cut it to size with a scissors. I love these tiles they are easy to cut with scissors. No fancy tile cutting tools are needed. If it needed to be altered I did that on the stencil and tested the fit. Once it was the correct size, I used the backing as a template and traced my actual stencil. Here is a lesson that I learned - don't trace the back of the stencil, trace the front otherwise it won't fit when you flip it around...
I would say this project took me about 6 hours. I did this project when my toddlers were home, so there were a lot of interruptions, but this is an easy enough project to stop and start at any point, unlike if I would have done a painting stencil because I would have had to worry about paint drying during breaks.
The tile cost me $260 for 88 squares. When counting your tile to figure out how much you need, if you have a lot of partial tiles you can't assume 3 small partial tiles equals one tile, because you can't piece the tiles together due to the design. I could usually piece together two partial tiles from one of my full tile stickers, but that was the limit.
The finished product:
I am not sure if this will last 7 years as the company states, but I'm okay with that. I didn't intend this to be flooring to last a lifetime and, honestly, I change my tastes so often I'm sure in a few years I will grow tired of the design. I like that I can always remove the tiles if I do grow tired of it and maybe soon the white marble tile with gray grout will come back in style. I will update this blog post on the durability of the flooring as time goes on. For now I'm happy with how it turned out, the floors are my favorite part of the bathroom remodel and I'm dreaming up ways to use this product for other areas in my house.
Do you think this is something you would try or have you already? I would love to hear your experience!


thanks for sharing! Love your work. I can just see the twins dancing all over the floor ❤
ReplyDeleteThank you! The floor is the twins' favorite part!
DeleteLove this!!! I've contemplated stenciling the floor also! Looks like a good solution!
ReplyDeleteWe’re taking a fresh approach to wallpaper and giving you the best choice of great design to help you create a space that is unique and personal to you. quality framed art
ReplyDelete